

Cheese Bunny
Transform a Babybel cheese into a bunny with a few easy steps! These cheese bunnies are perfect to make for Spring and Easter. The perfect addition to your charcuterie boards or snack plates!
You might have seen those big cheese bunny boards using round brie cheese wheels but I wanted to make smaller ones that could be easily placed on a cheese board, snack tray or for kids lunch boxes. So I decided to make them fun sized with a Babybel cheese. These are so easy to make and you can find all my tips and tricks for making them below as well as an easy to follow video.
These are an easy to create a fun treat for your family, friends or kids to enjoy! All you need to make the bunnies is a Babybel cheese.

How to make the babybel cheese bunny
Follow these easy steps to make the Babybel cheese bunny.
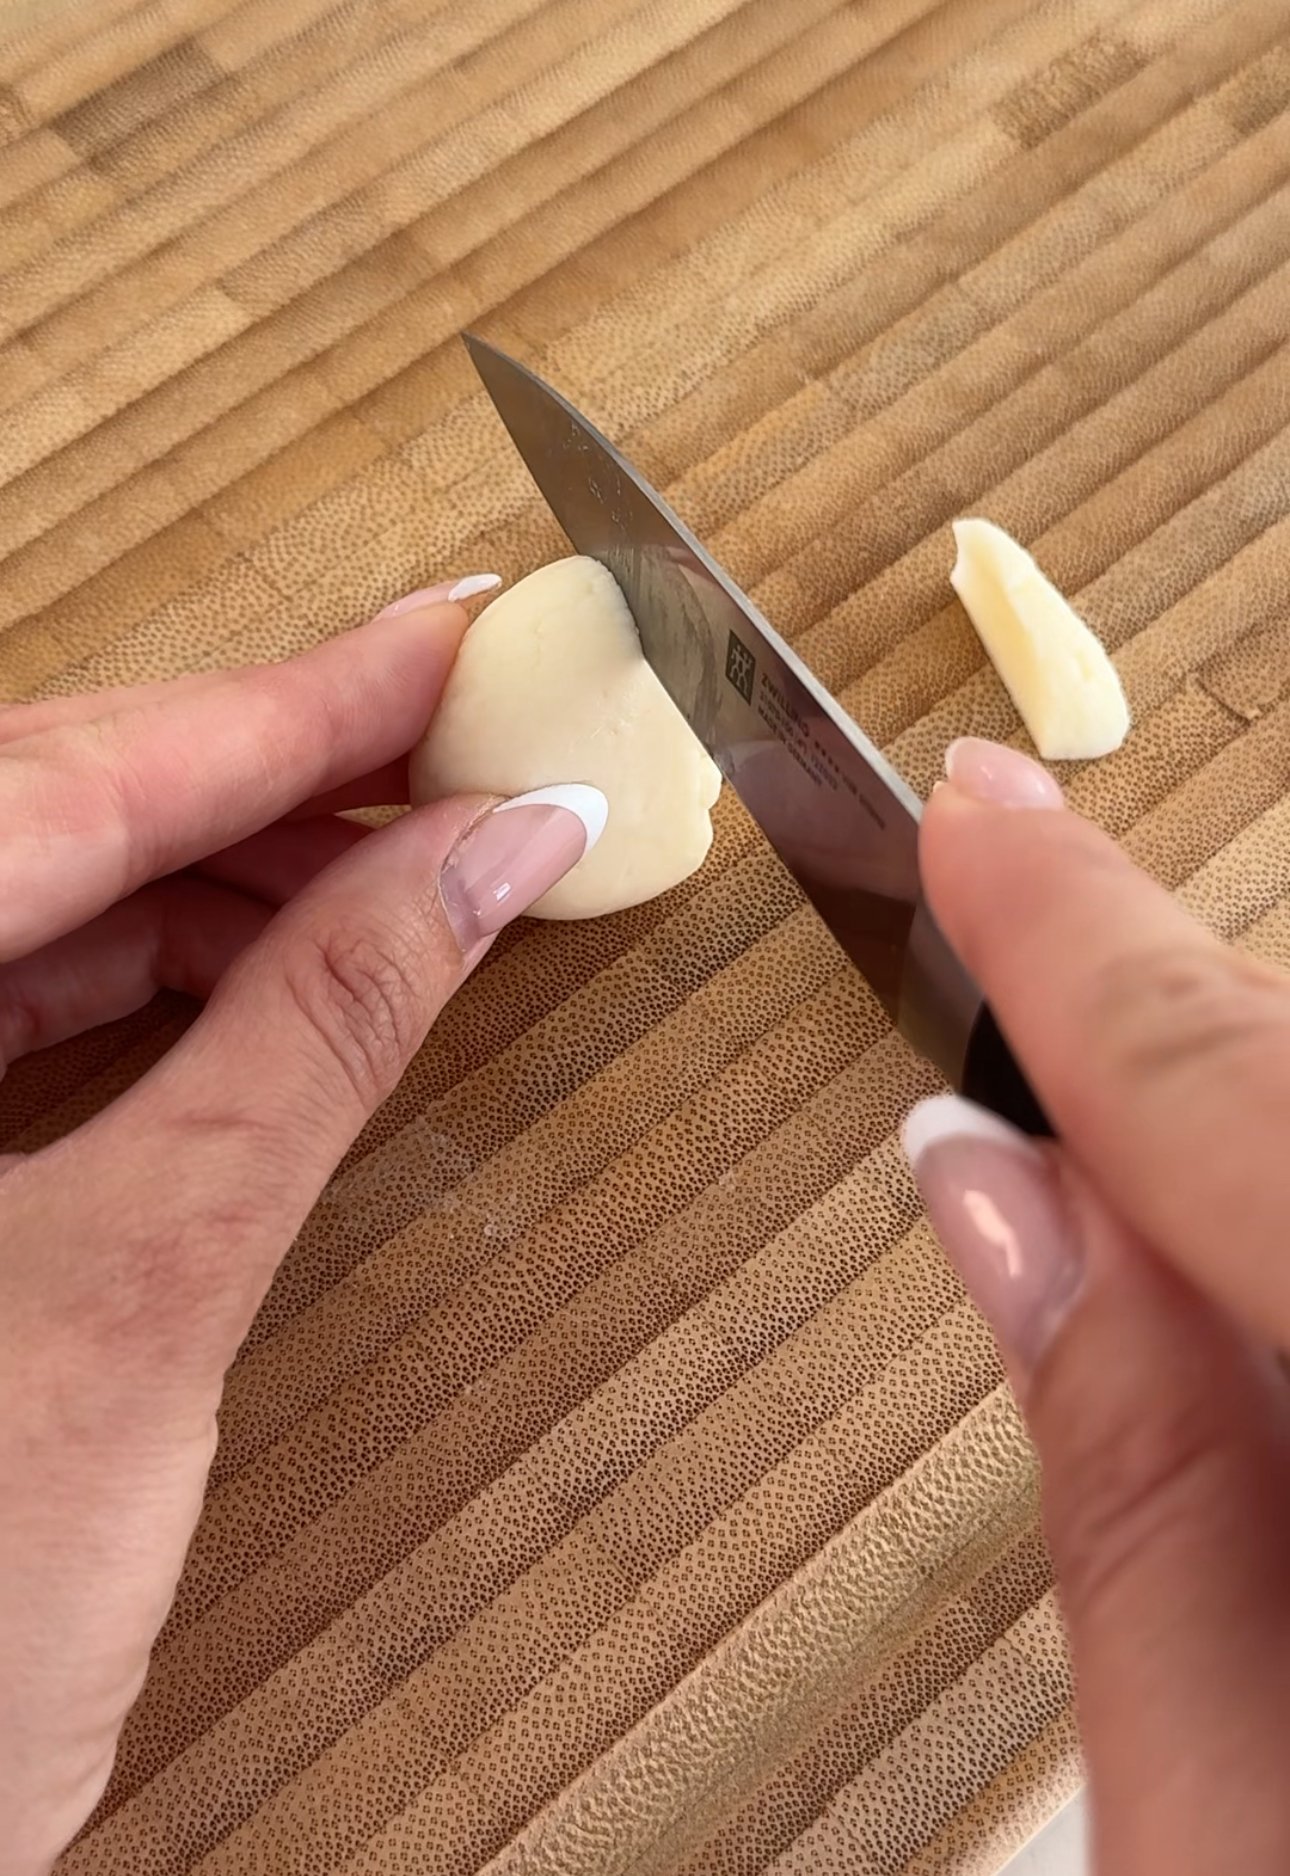
Cut the bottom part of your Babybel cheese (about 1/3 of the cheese)
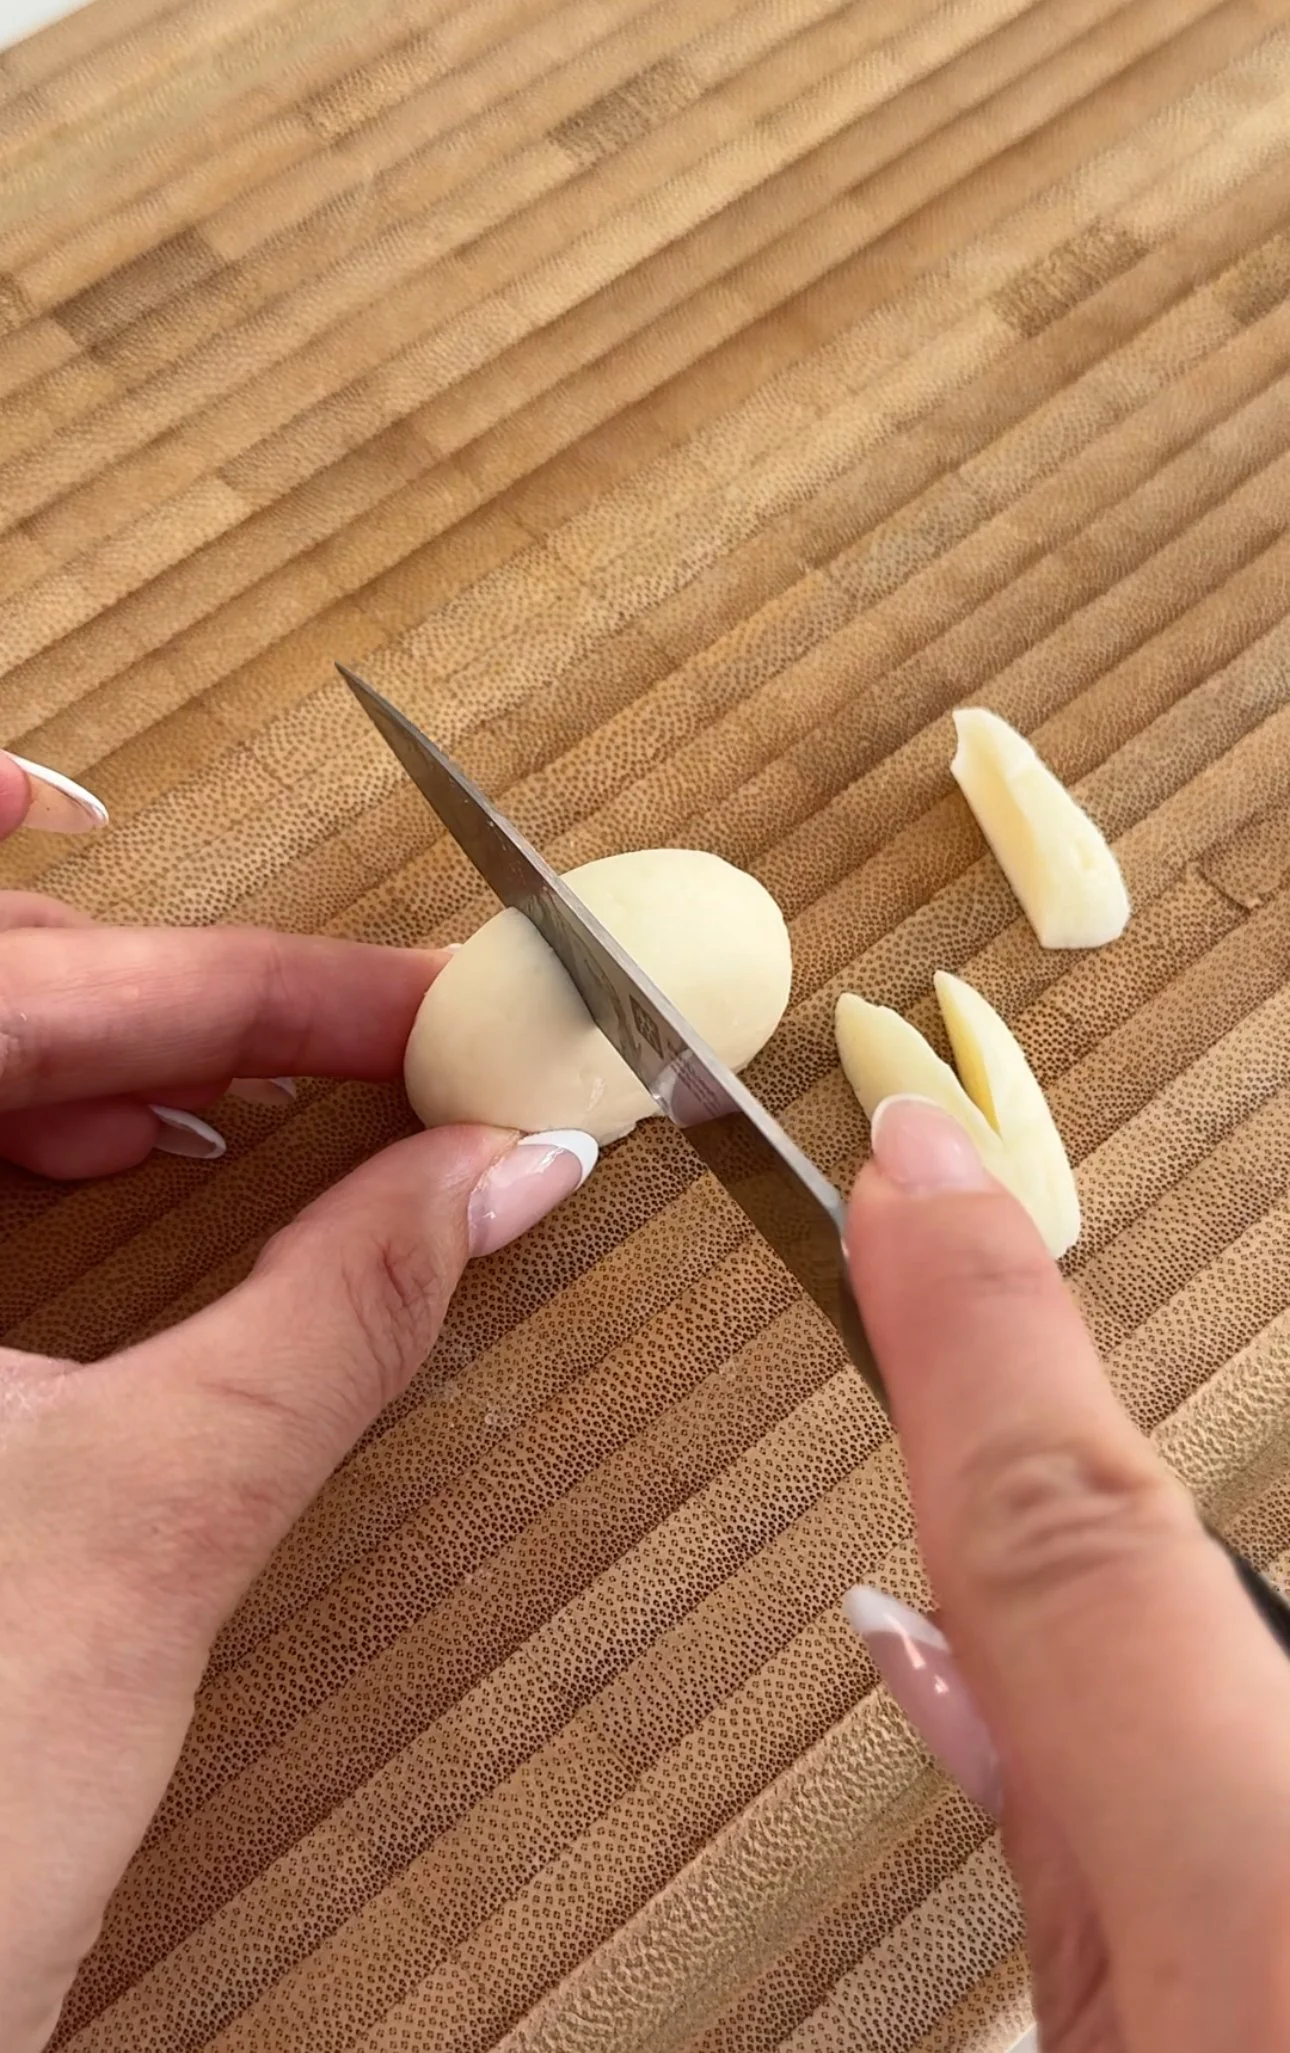
Using the piece that you cut off, make two cuts to create the ears and the tail
On the big part of the Babybel create two slits- one at the back and one at the top (TIP don’t make these slits too deep or the Babybel will tear)
Add in your ears and tail to the slits you just cut
TIP: when creating the two slits for the ears and tail to go into, make sure you don’t make them too big. Just enough to put in the cheese ears and tail.

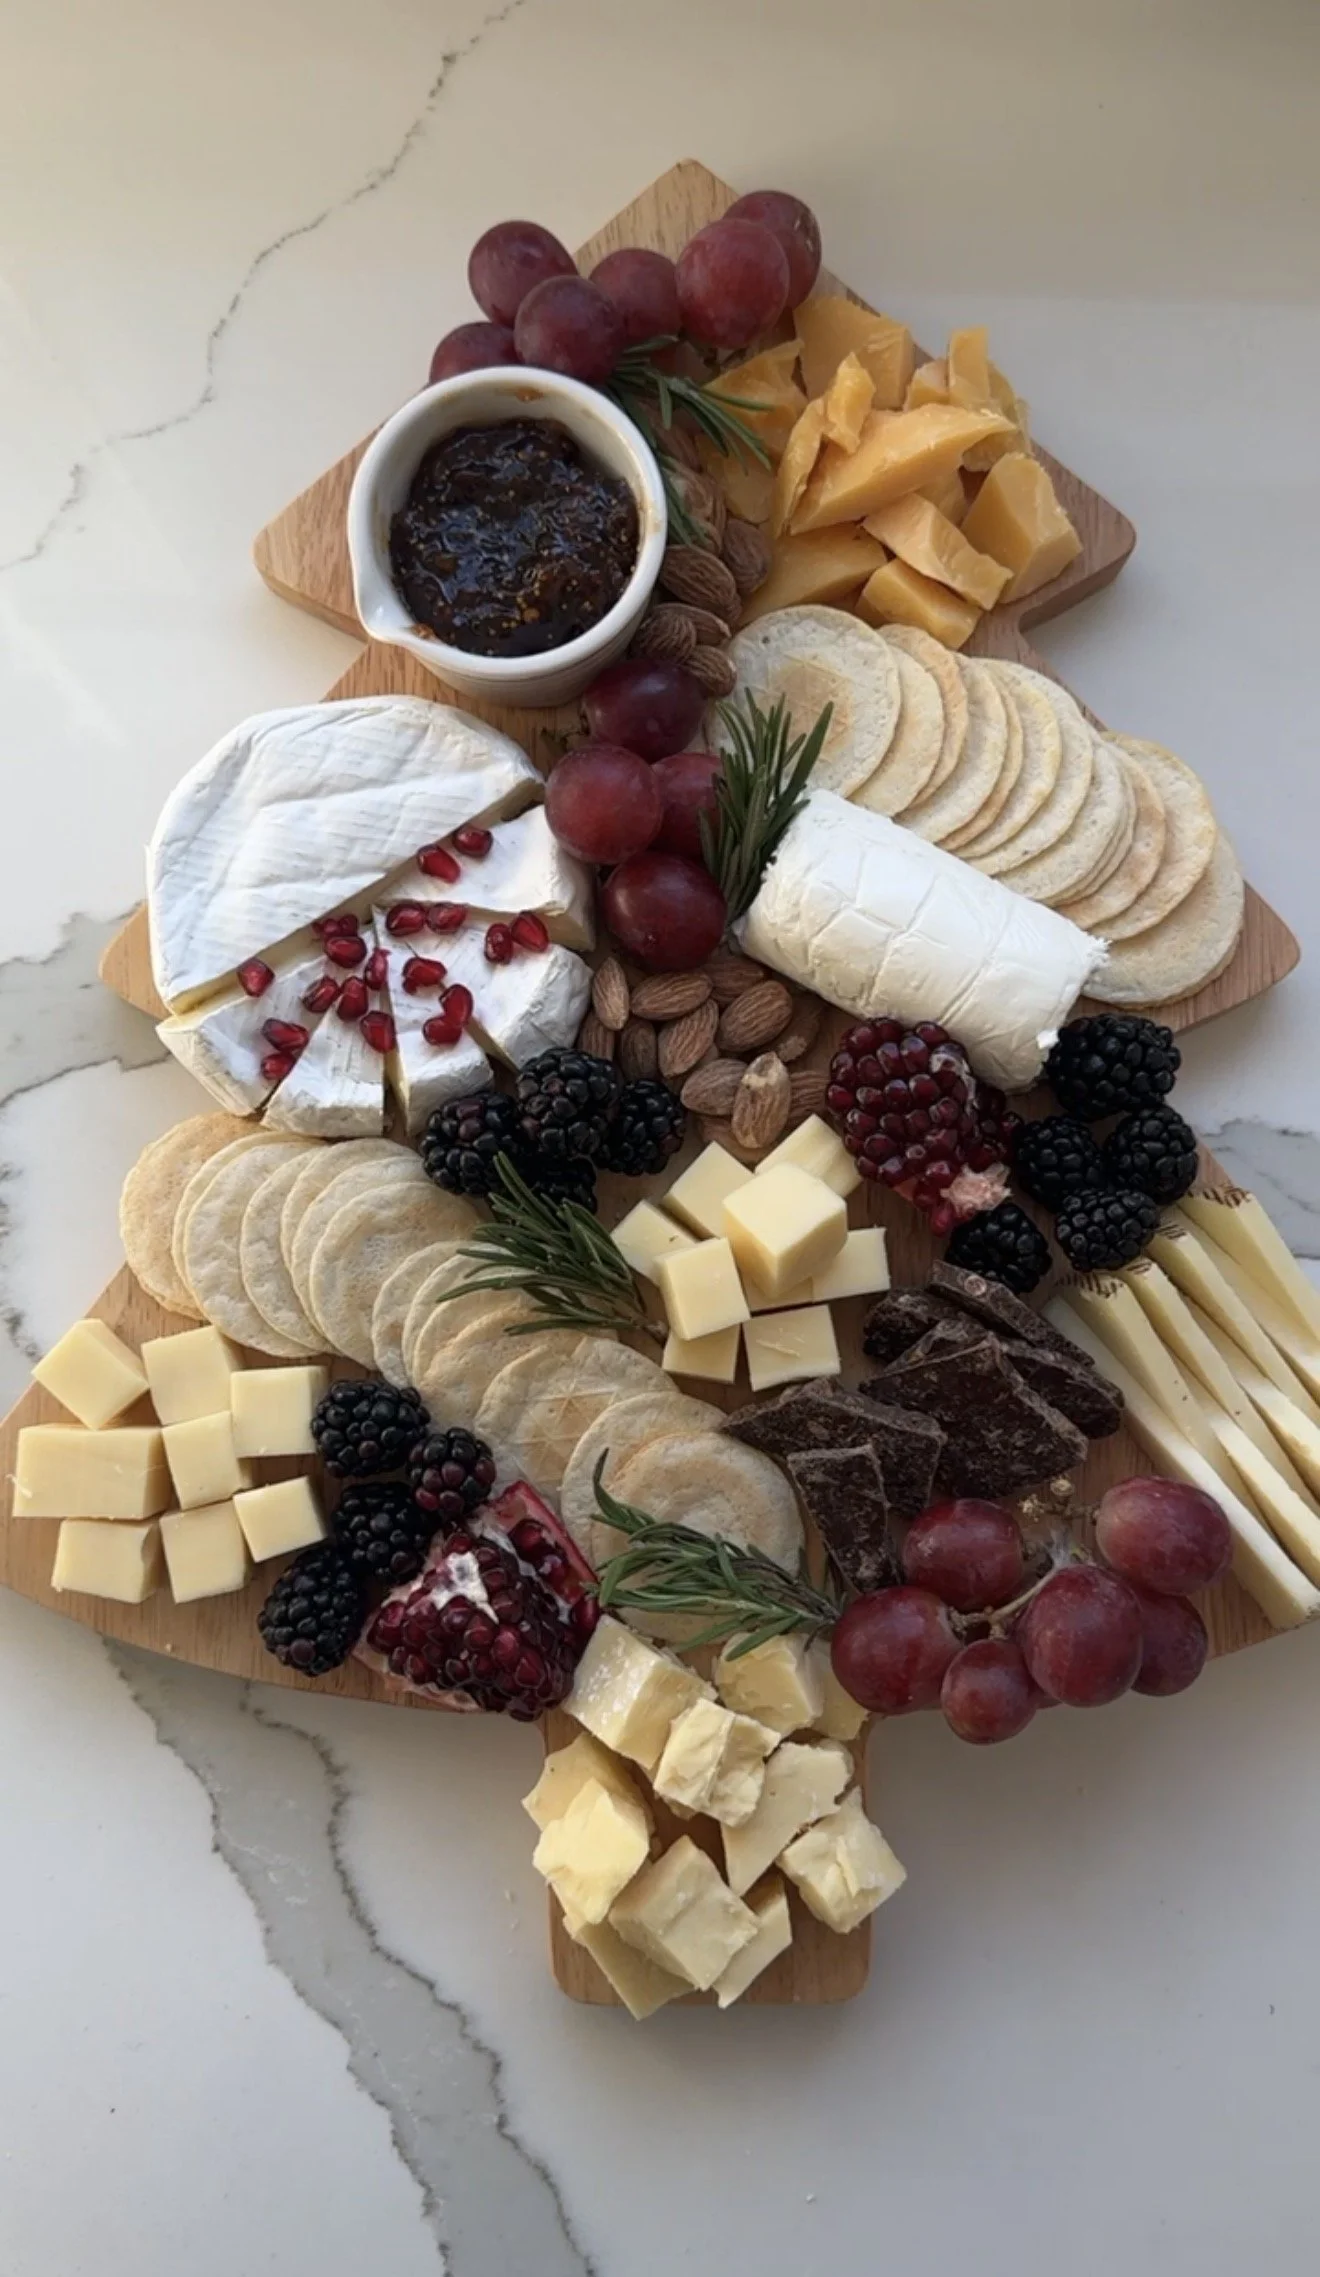
Add these cheese bunnies to your charcuterie boards!
SHOP THE REICPE


STEP ONE- cut 1/3 off the bunny

STEP TWO- cut out the tail/ears with the 1/3 you cut off

STEP TWO
STEP 3- cut a slit in the back
STEP THREE: cut a slit at the top

STEP FOUR- put the ears in the top slit
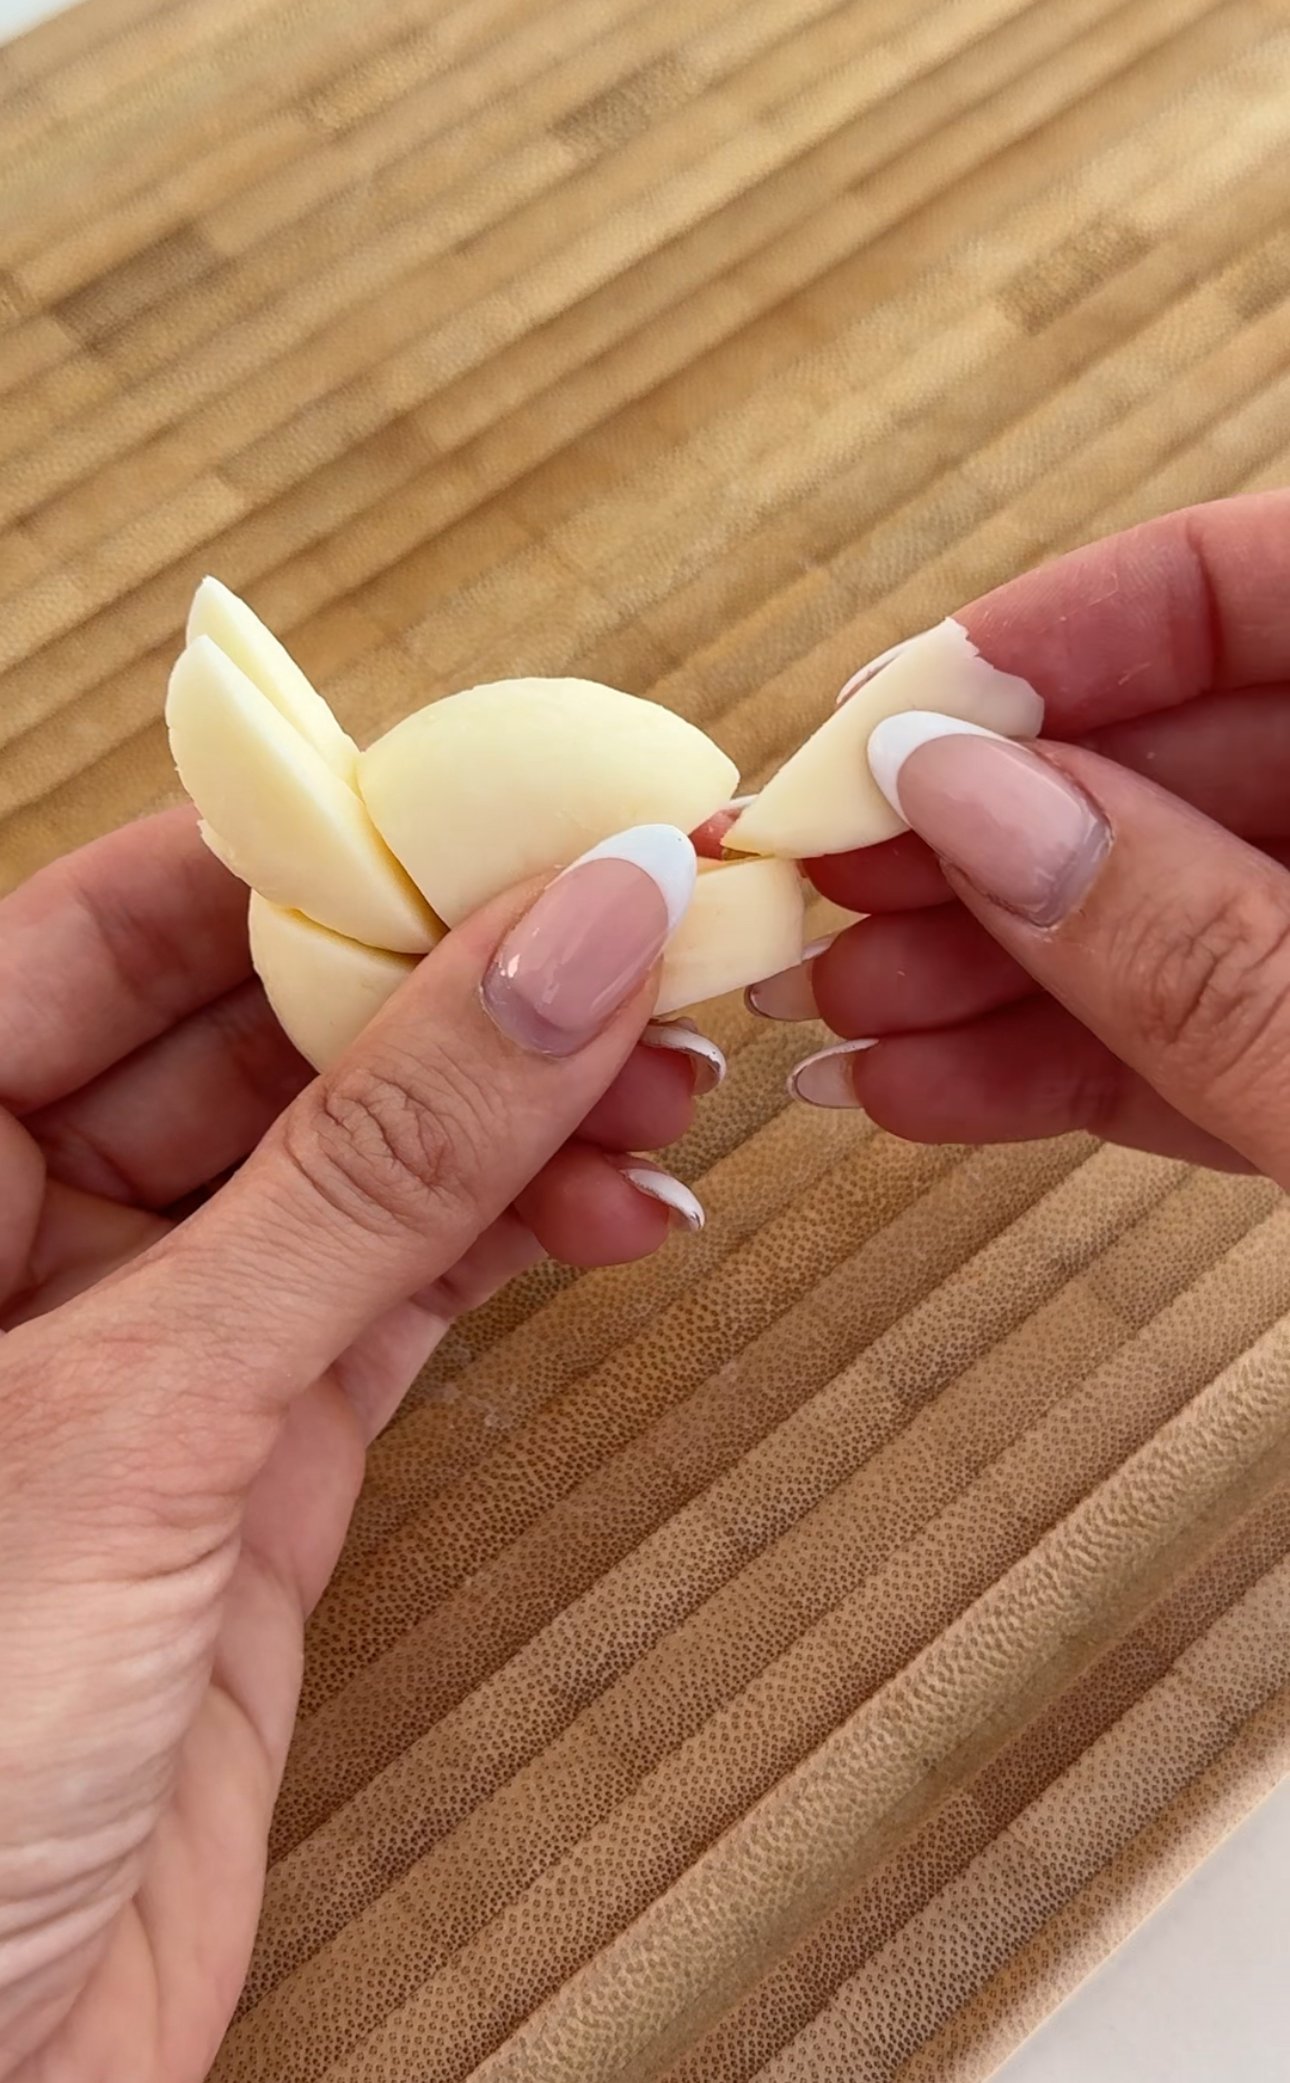
STEP FOUR- put the tail in the back slit
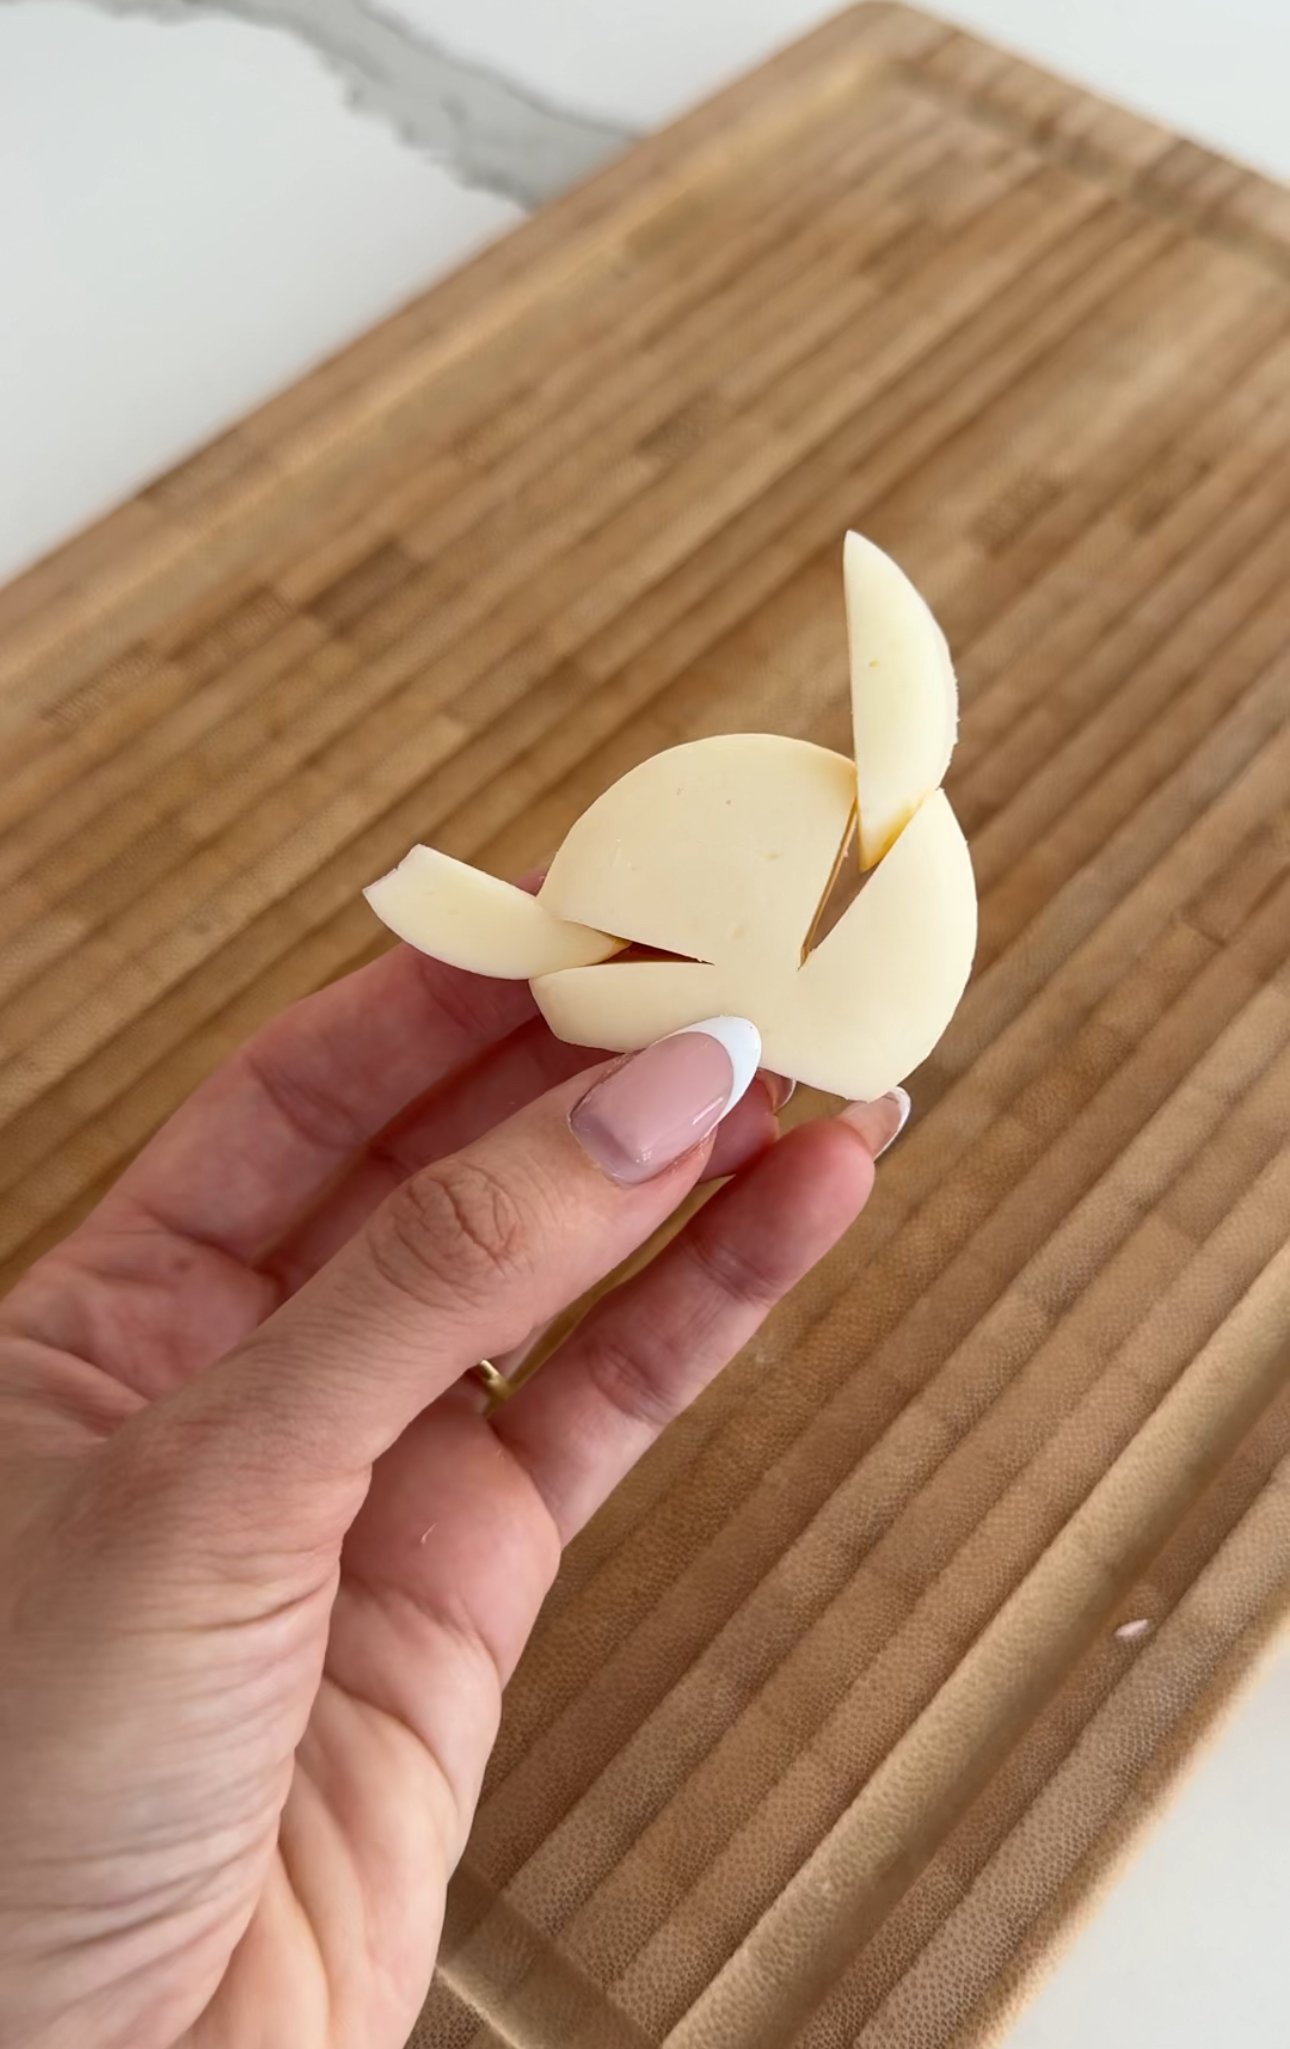
ALL DONE! A cheese bunny!

You might also like
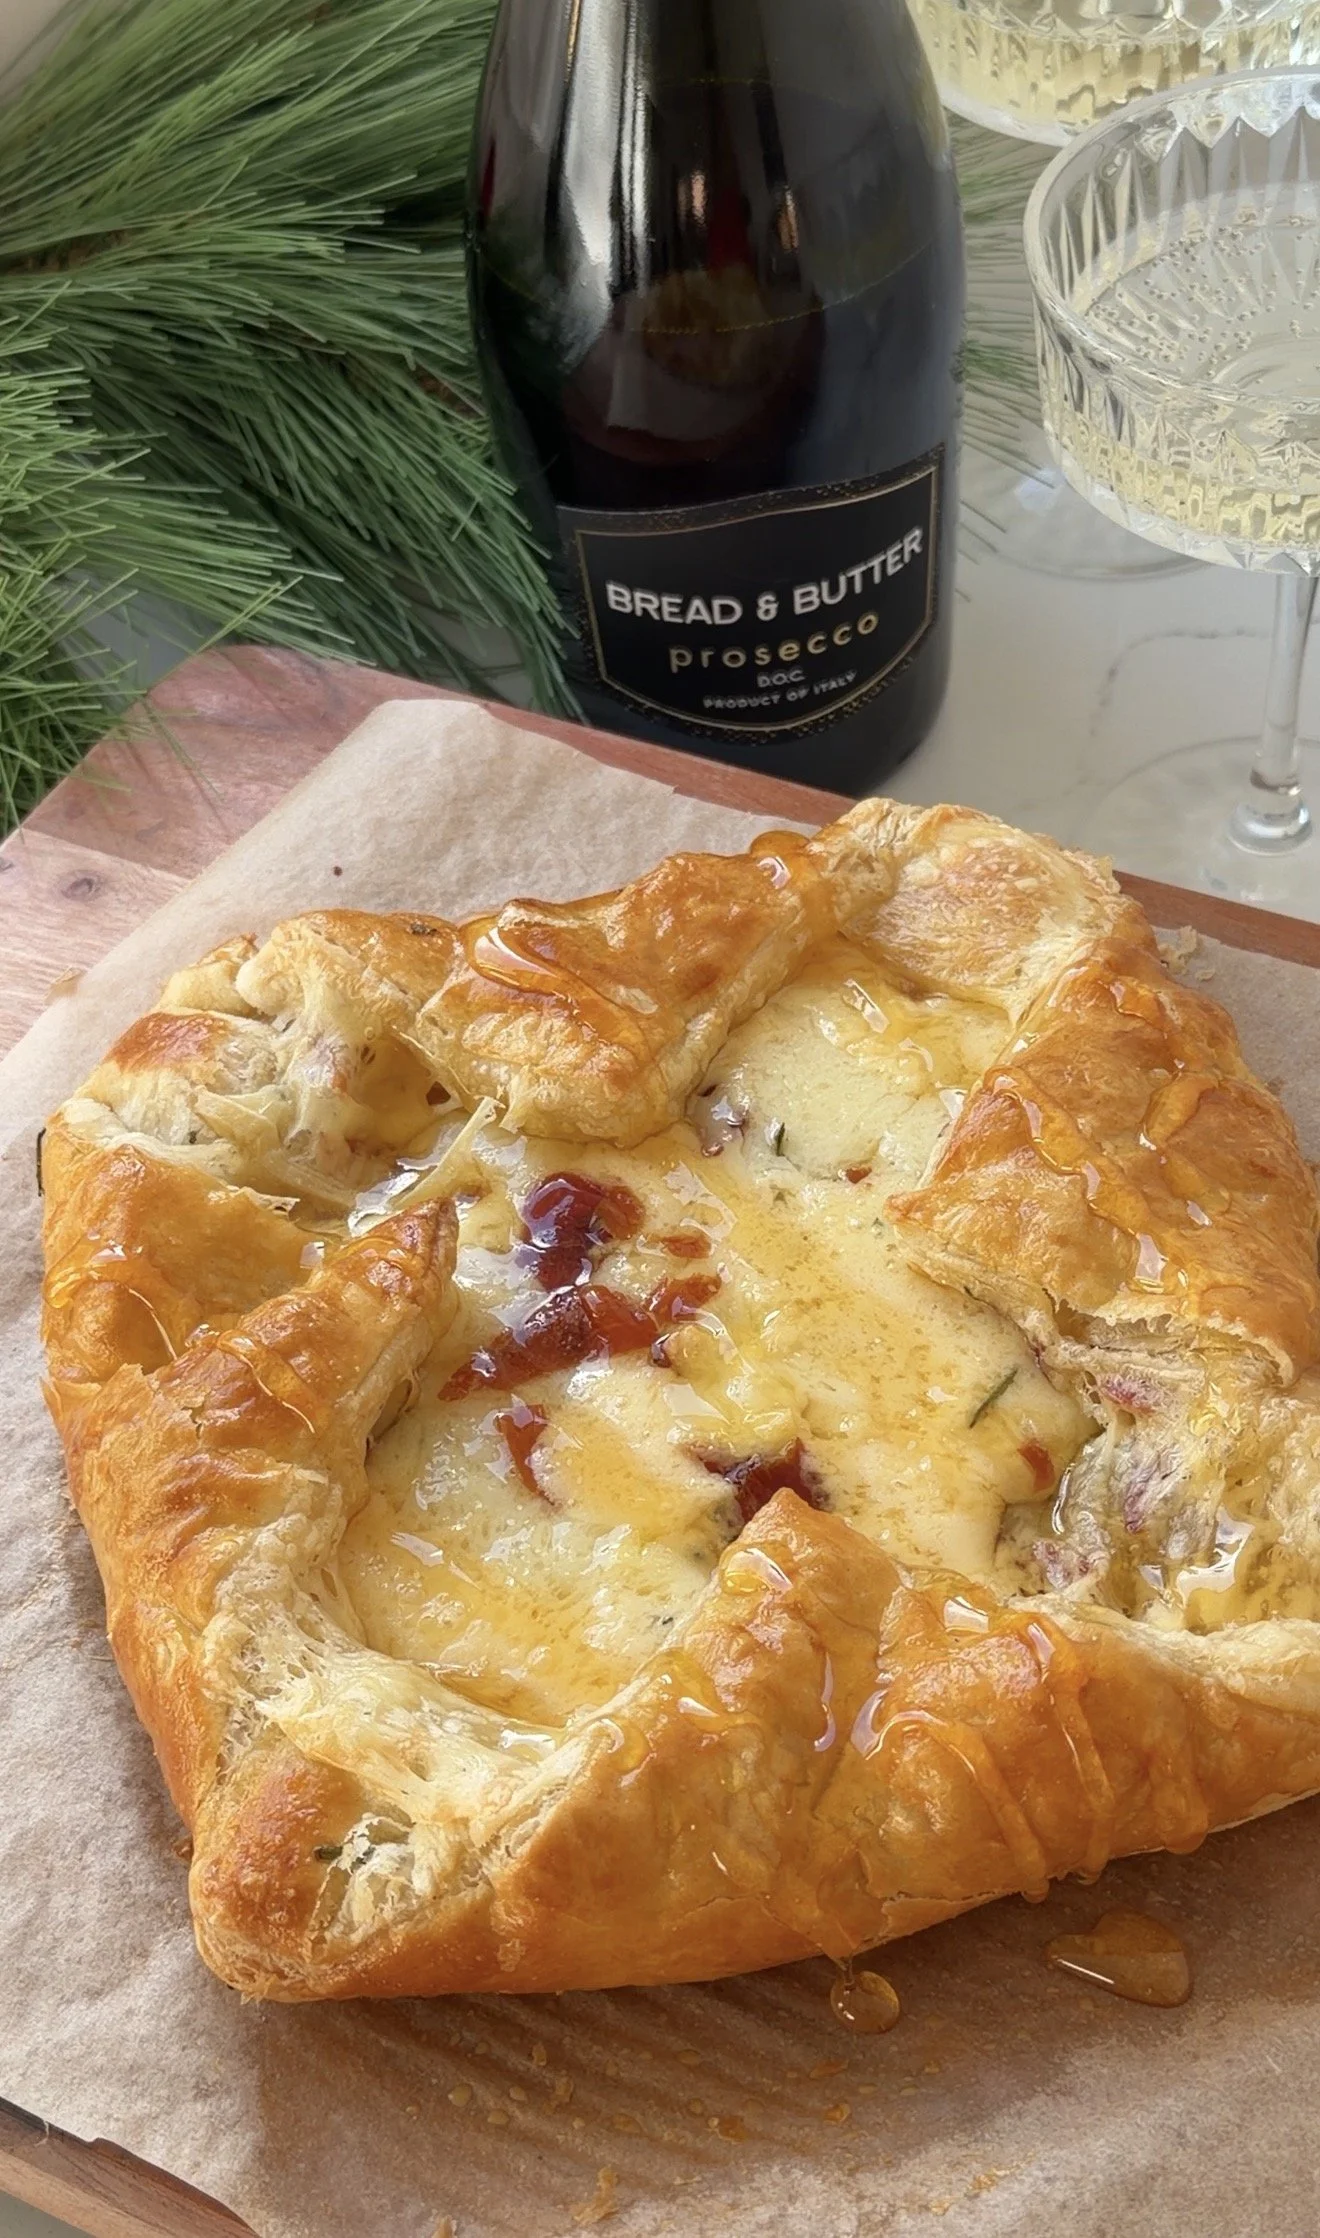


Want to make an appetizer to impress? Make these crispy, flaky, buttery brie bites. Brie cheese and caramelized fig jam stuffed into crispy phyllo dough. It is the perfect appetizer for any holiday get together!